
Outdoor security cameras play a crucial role in safeguarding your home or property, providing surveillance and peace of mind. However, not everyone wants to drill holes and use screws to install them. Whether you’re renting your property, prefer a non-permanent solution, or just want to avoid the hassle of drilling, this guide will show you how to mount outdoor security cameras without screws.
Mount Outdoor Security Cameras Without Screws Installation: A Step-by-Step Guide
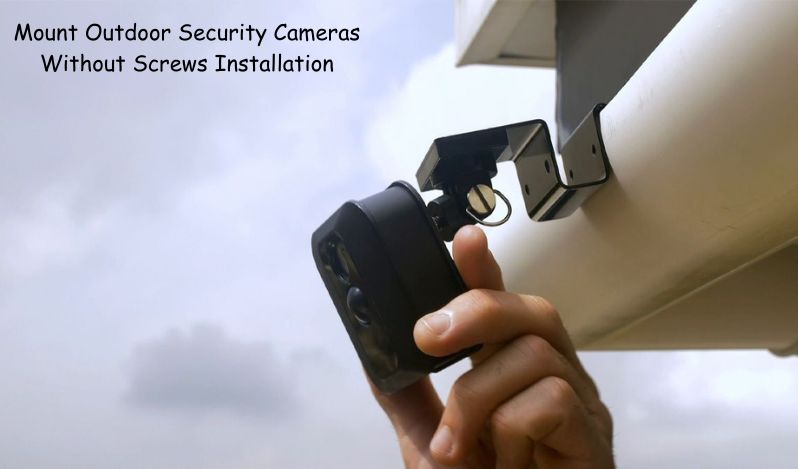
Discover the hassle-free way to install outdoor security cameras without screws. Our step-by-step guide will walk you through the process, ensuring a secure and non-permanent installation that keeps your property safe.
Choose the Right Camera Type
Before you start, it’s essential to select the right type of camera for a screwless installation. Dome cameras, bullet cameras, and wireless cameras are excellent choices. Wireless cameras are particularly user-friendly as they require minimal wiring.
Gather Your Tools and Supplies
To complete a screwless installation, gather the following tools and supplies:
- Outdoor-rated adhesive mounts or brackets
- Cable clips or adhesive cable clips
- Power source (if not using battery-powered cameras)
- Mounting templates (optional)
- Screwdriver or drill (for optional cable management)
Locate the Ideal Camera Placement
Careful placement of your outdoor security camera is essential for effective surveillance. Look for areas with a clear view of the target area and a power source nearby if your camera requires one. Use a mounting template if provided with your camera to ensure accurate positioning.
Attach Adhesive Mounts or Brackets
Adhesive mounts or brackets are designed to provide a secure attachment without screws. Follow these steps:
- Clean the mounting surface thoroughly with rubbing alcohol to remove dirt and grease.
- Peel off the adhesive backing on the mount and press it firmly onto the chosen surface.
- Allow the adhesive to set for the recommended time, usually 24 hours.
- Once the mount is secure, attach the camera to it following the manufacturer’s instructions.
Secure Cables with Adhesive Clips
To maintain a clean and organized installation, use adhesive cable clips to secure the camera’s cables to the wall or surface. This will prevent them from dangling or getting in the way.
Powering Your Camera
If your outdoor security camera requires a power source, consider the following options:
- Battery-powered cameras: These cameras are the easiest to install, as they require no external power source.
- Solar-powered cameras: Solar panels can be installed separately and connected to your camera to provide continuous power.
- Outdoor-rated extension cords: You can use these to extend the reach of a power outlet to your camera’s location.
Testing and Adjusting
After the camera is installed, test its functionality to ensure it’s capturing the desired view. Make any necessary adjustments to the camera angle or settings.
Conclusion
Mounting outdoor security cameras without screws is a viable option for many homeowners and renters. By choosing the right camera type, using adhesive mounts, securing cables, and addressing power needs, you can achieve a reliable and secure installation. Remember to follow the manufacturer’s instructions carefully and periodically check the camera’s position and functionality to ensure the safety and security of your property.