
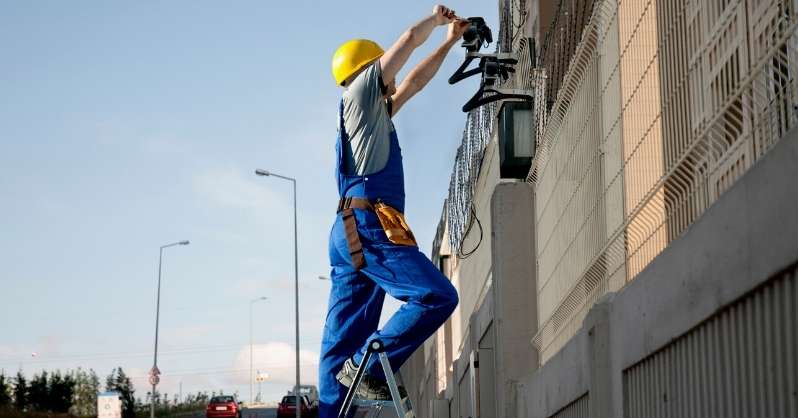
Over the last few years, security cameras have been proving their success in providing security for our homes and properties. But, you have to install them correctly. So, when you want to install a security camera then you will have two options in front of you. Either you will install WiFi cameras or wired security cameras. Both security cameras have some distinctive features.
I will, however, discuss how to install a wired security camera outside in this article. And I will also add some related stuff. Make sure you read the whole thing.
Wired Security Camera Installation: Quick and Easy Guide
As you go about installation, you will realize the task has two sides. One side of the setup will be on the outside of your house, and the other side will be on the inside.
On the outside part, there will be your cameras, and inside of the house will be a DVR box. To connect both sides, you have to use Ethernet Cable which is better than a BNC cable.
To accommodate this cable with your analog system of the camera, in case, you can use baluns adapters. These all steps of installation are not so hard to execute if you understand them clearly. So follow the steps below:
Find Out Right Place For Your Camera
It is your first step to install a wired security camera. So you have to take your decision very carefully. Since this step has a deep influence over the following steps, You have to pursue the right place for your wired security camera. This is not so simple to select a place and mount the camera afterward. Rather there are some limiting factors that should be concerned previously.
For instance, you have selected a place which is next to the front door of your house – a wall. You think that it is the right place to install your camera. But there is no scope to route your Ethernet cable to the DVR box.
Therefore, you will need to choose the right place for your wired security camera. You can choose the porch of your house. Then run your Ethernet cable through the attic. It is the right place where you can easily run your Ethernet cable towards the main hub of your security camera. Finally, find out the right place to install your wired security camera.
Prepare The Equipment
After completing the first step, you should determine which type of equipment is necessary to set up your security camera. And this thing solely depends on the location of your camera. You might have to drill drywall, aluminum, or wood. For that, you require an ordinary power drill. Or you might have to drill brick and another masonry then you will be required a hammer drill.
You have to mark the location where you will install your camera. You can use a pencil by which you can mark the spots where you will drill holes for the screws. And also you need to drill a hole to feed your cable through.
In that case, you can get the best use of the template sticker, this thing probably makes your task easier. The central hole should be bigger than the others because it will be used for running your cable. You can use spade-bit for larger holes.
Run The Cable Perfectly
When you have completed your drilling task, then start your next important task which is – running the cable. It is important to consider that when you are drilling the holes, try to make comparatively wider holes for passing more cables at the same time. Or if you wish to add or install more security cameras then a wider hole will be beneficial for you.
The task of running wiring through walls, ceilings, and other tough areas is usually not so convenient. In some cases, the process is accompanied with a reason of impatience and tiredness. However, make a plan, and then your task can be done within 30-40 minutes rather than passing countless hours.
A fish tape is an excellent tool that can help you to feel your cables through the attic or ceiling. So, pass the cables and try to hide them.
Using fish tape at this time is a great decision because it will make your task easy. You have to use this tool rightly. Make a rough plan in your mind through where you will pass the Ethernet cable. Now extend the fish tape through these areas after doing this tie up the end of the Ethernet cables to the hook of the fish tape.
Make sure you’ve folded the neutral threads with the hook of the fish tape, then use tape to tie them up. After doing this task, pull up your cable(s) from the outside of your house, and thread the cable through the holes and other places. Remember that, you are connecting two sides of the wired security camera system. Now, connect the cable to the main hub or DVR box.
This step might be complicated for you if you do these tasks alone, so hire your friend then it will be very simple for you to run your Ethernet cable.
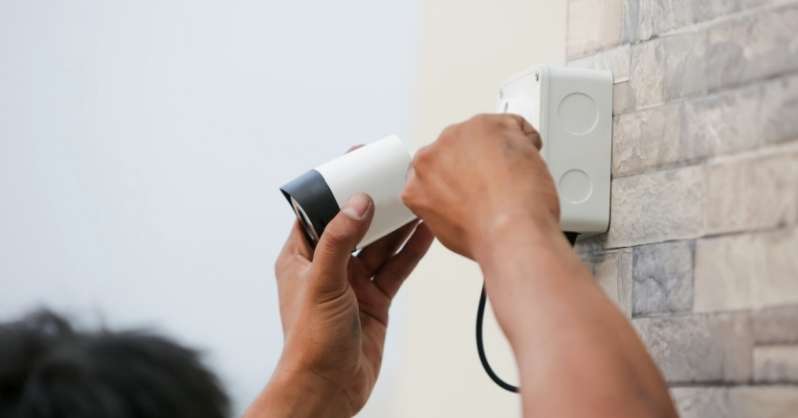
Install Your Camera
You have completed the most complicated task of all the steps out here. With this new approach, completing the entire installation will be easier for you.
Connect your security camera to the cable that is passed through the hole. Now use a power drill and mount your camera towards the location. Now you need to do some trails to check that your connection is okay and there is no dark spot in the area of your camera’s visual field.
After this adjustment, you need to secure it by using electrical tape in order to avoid unplugging incidents.
Final Task
Finally, when you have completed all tasks of the previous steps now you need to connect other cables if you have more than one security camera. You need to set a monitor, keyboard, and mouse and you have to customize its settings. Or you might be going through the user interface and this a quite an easy task. So this is your wired security camera installation process.
Conclusion
Now you should have a decent idea regarding how to install a wired security camera outside. Remember that the main part of this project is running the cable(s), for that you need to make a good plan and its probable route. You should choose under eave, soffit, and attic to install and run your security system. Then it will be easier for you. Good luck.
Related Guide: