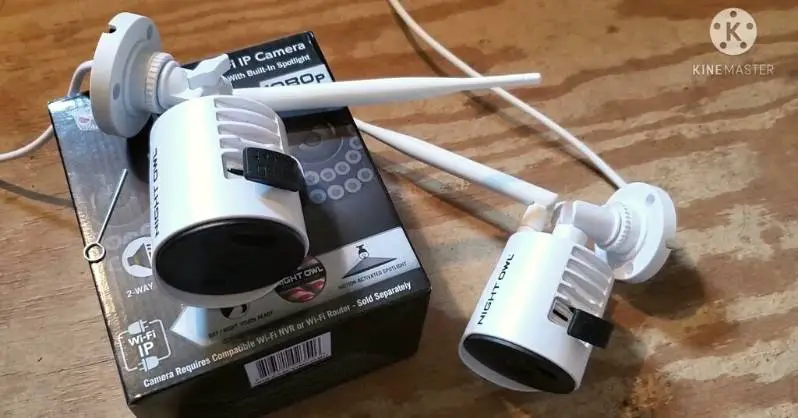
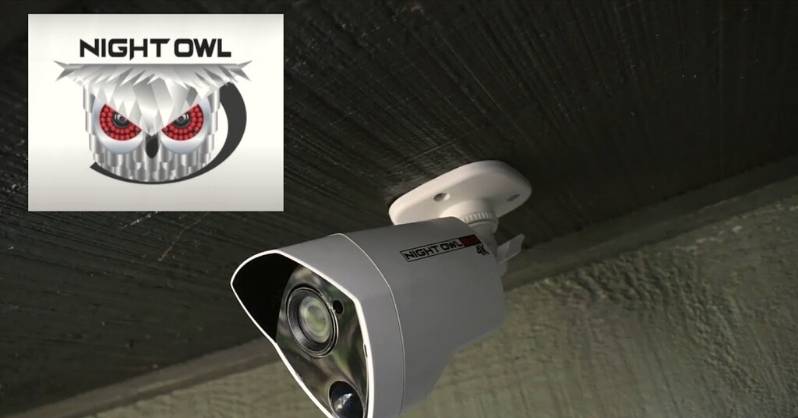
The night owl security camera is one of the high technology cameras on the market. This camera has some unique features that you hardly find on other security cameras. This security camera somehow appeals to me, perhaps because of its name. Now, I will show you how to install a night owl wired security camera in your house.
I believe this article will solve the difficulties which some people are facing during installation. And this article is going to guide you when you are trying to install your night owl wired security camera on your own. So, read and follow our instructions so that you can get your camera installed in no time.
Things to Remember Before Installation Night Owl Security Camera

Installing a night owl wired security camera is not as difficult as some people assume. For a hard task, one needs to make a good plan and collect the needed tools accordingly. These are very vital points that should be considered before installation.
All of the installation processes will take approximately not more than two hours. So, you need to review all operating instructions and safety beforehand.
In that case, if you need to know something concerning the security camera then read the user manual as it will be beneficial for you to know about maintenance, navigation, and system function.
If you read our instructions carefully, you will know what tools and components you’ll need to install a night owl security camera. And finally never power your security camera before setting up the connection between the security camera and monitor.
Step By Step Night Owl Camera Installation Process

If you never set up a surveillance camera before, this step-by-step guide will help you do this task without any hassle. So, without further ado, let’s see the whole process sequentially.
Connect The Monitor Or TV To The DVR Of Night Owl Security Camera
In your first step, you have to make sure that your monitor or TV has HDMI or VGA connecting inputs. It is very vital to know about the installation of your night owl security camera.
Now you have to connect the monitor or TV with either HDMI or VGA cable. Remember that whether HDMI or VGA, you have to connect it to the same connector on your DVR.
As you have completed one side of the connection, now connect the other side of the HDMI or VGA cable towards the monitor or TV input. It should be noted that VGA cable will not include in the package rather you need to buy it from the market.
Connect Your USB Mouse
To switch into the on-screen menu while you are using it, you need to do certain things. First, you need to use a USB mouse and connect it to the DVR. Just plug it into the port of the USB. This port might be on the front side or back side of the DVR.
VGA/HDMI is known as the DVR default output mood. Sometimes it is required to use remote control. A remote control can ensure effective functioning. You will need it if you are going to connect a BNC monitor. To change its output, you have to change it to BNC.
Connect Your Security Camera To The DVR
In this step, you need an extension cable which is generally of 60-inches long. This cable is particularly used for video extension. However, you will find it in your package. Then, look for the DC power with the same color port as the cable.
There are two cables which have to be connected to each camera. The first one is the yellow-colored cable of the BNC connector. From the camera, this cable gets video output. Another connector is a red male cable, which is for power.
Now you have to connect the other side of your BNC cable to the DVR. There are input ports of video on its backside.
Power On Your Tools- Monitor, Security Cameras, DVR
Once you have completed previous instructions then you will go to the next and final step of this process. Now, you have to connect the extension cable, which is 60-inches, to the four ways power divider. Remember that this extension cable is for video and you will find the power splitter in the kit that you have already got.
Now plug another side of the power divider into the camera’s power supply. To operate your night owl security camera, you need to connect it to the power socket.
For the DVR, you have to connect the power connector of the DVR towards the DVR port which is available on its back panel.
Once through, the power supply of the DVR has to be connected to the surge protector or wall socket. At the same time, your Monitor or TV needs to be powered on.
Now, your night owl security camera is in the queue to start. When you will start it, then you will see its symbol on the Monitor. Yes! You have done your task.
Conclusion
Hopefully this article has helped you learn how to install a night owl wired security camera to enhance your home security. I have tried to make my instructions simple as experts like to share procedures.
However, it is worthy to mention that I have illustrated core points that you should know when you are about to install a night owl security camera. So you can follow my instructions and if any questions arise, then reach out to a pro.
Related Guide:
